Saturday, October 12, 2013

Monogrammed Frame

Added this frame on my pinterest to do list, and finally got to it just in time for fall. 


I found this black frame in a yard sale and thought it was perfect for this little project.  


Headed to Michaels to pick up the rest of the goods.   A tan foam board for the back, some burlap, and a C.  We had the off-white paint at home. 

Cut the black of the frame.


 Covered it in Burlap.


 Painted the frame and C.   We used spray adhesive to keep the burlap on the foam board, and used blazing points to keep the back on the frame.   


Sunday, October 6, 2013

Mom' Birthday Present...a new old vanity!


My mother being the caring woman that she is, is always more worried about her children then herself, and has been using this old beat up vanity for over 25 years.   It was time for my handyman to intervene.   So for her birthday (which was in May)  Kev went to work on her new/old vanity!  


Turns our not only was this little guy old and beat.  Kev found out it was also was covered in lead paint.   So he first stripped the lead paint and refinished the top of the bench and the table.   Then he sanded and stained to bring out the beautiful natural wood that was hiding under that brown paint.   He then repainted the bottom with an antique white and then screwed in some new hardware.  


It was done just in time for us to borrow for Emmy's shower!  

Tuesday, July 23, 2013

Master Bathroom

This summer, in between weddings, we tackled the project of our master bathroom. Here is what it looked like before. 


White and blue tile from 1969.


A frosty sliding glass door that was almost impossible to open to close.
 

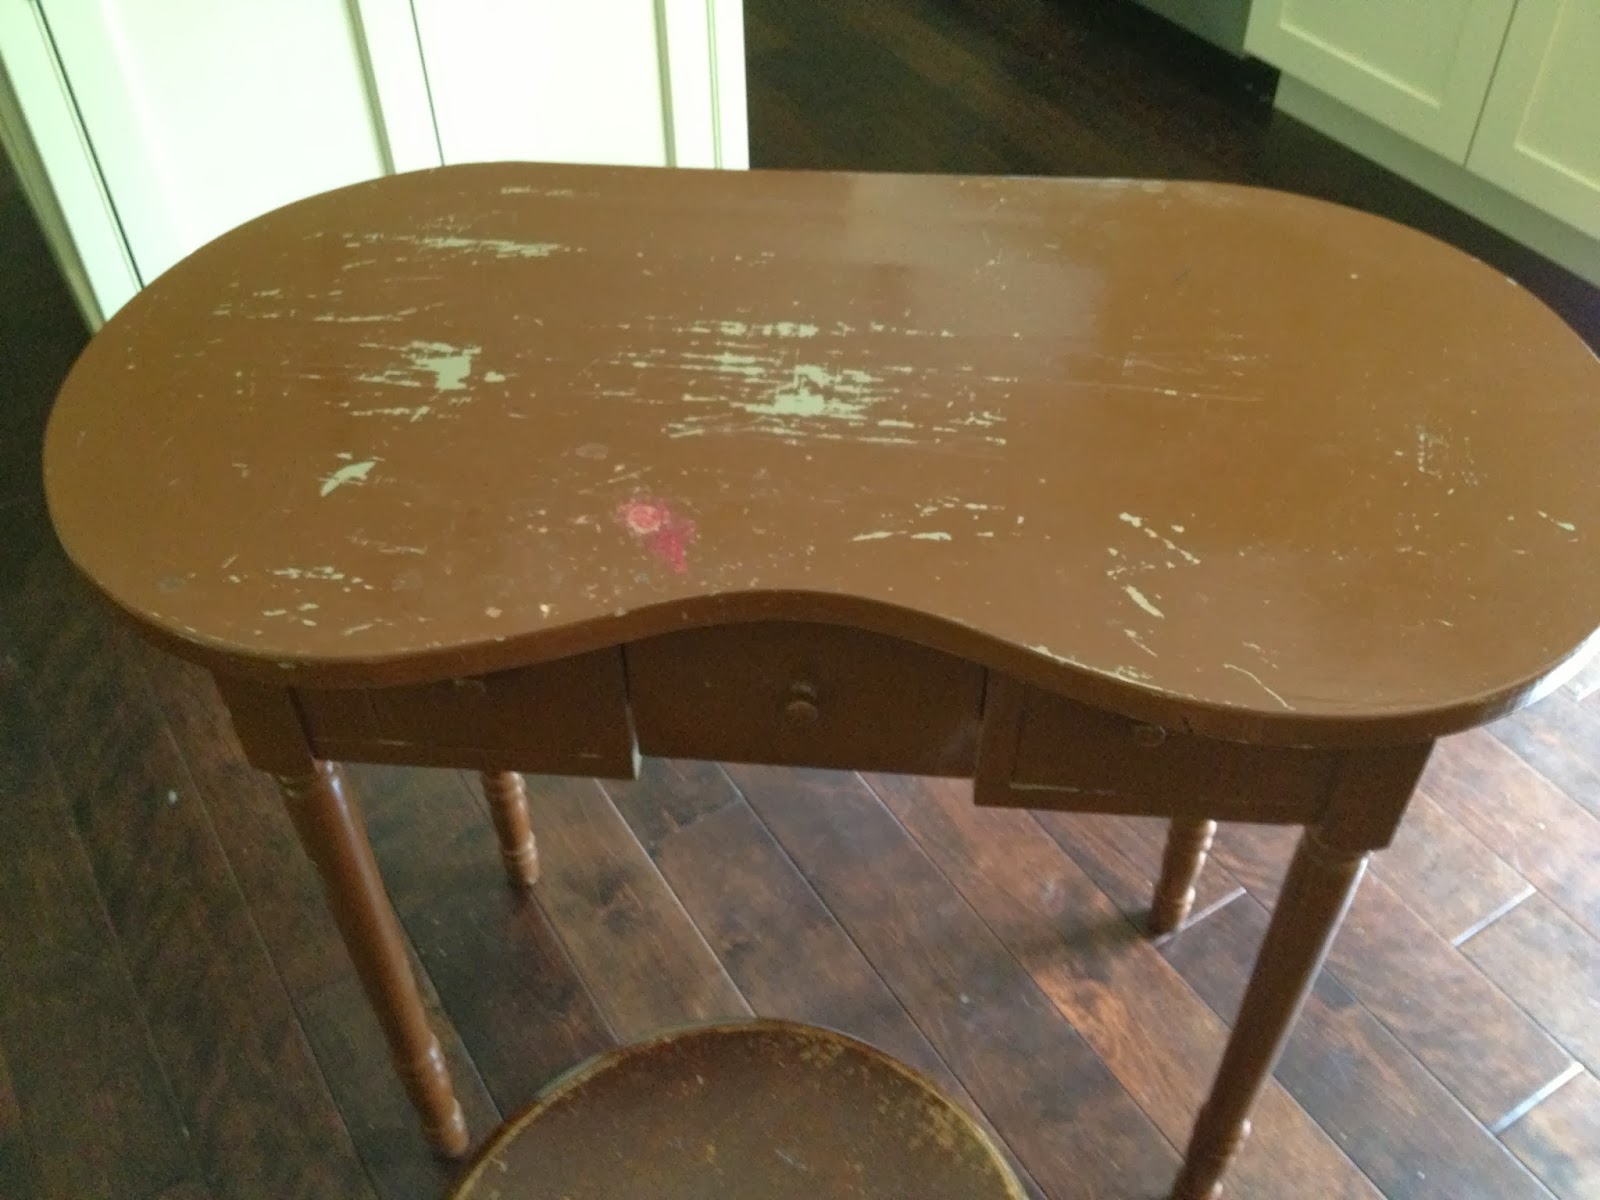
The vanity had been replaced prior to us moving in, so keep an eye out for the cabinet in the finished product. :)


It was time to get started with the demolition and plumbing! 


The bathroom was gutted down to the studs, and the shower controller was moved from the right wall to the left wall so we don't get wet when turning on the shower.   (I would have never thought of that!) 


First he asked if I liked it green.  (aka dry wall) 


The next thing I knew our bathroom was orange???  (turns out it was the kerdi waterproofing, duh!)
 Now to my favorite part!  Off to the tile store to pick out our new bathroom.   This is when things get fun for me. :)  


Then the tiling began.


Great job Kev!   All done just waiting for the glass door to be delivered.  

New granite, old cabinet. 

 
  Back in business!  


Great Job Handyman!  


My newest obsession is Rodan + Fields skin products.   Check out all their wonderful products here.  


Redfine Regimen has been my favorite so far!  Talk about some serious before and after pictures!


Sunday, March 31, 2013

Happy Easter! Bunny Bowl Appetizer

Bunny Bowl


Happy Easter!   Here is a quick and easy way to add the Easter spirit to your dips!   


I used a bread bowl which I scooped out and flipped over for the face.   I then used the two ends of a  baguette for the ears.   The eyes and nose are black olives, the whiskers are celery sticks, and the mouth is made from red pepper.   

Fill with the dip of your choice, and enjoy!  

I will be filling mine with spinach dip.  Below is the recipe I used for the dip.   Happy Easter! 


Ingredients

1 package (10 oz.) frozen chopped spinach, thawed and squeezed dry
1 container (16 oz.) sour cream
1 cup mayonnaise
1 package Knorr Vegetable recipe mix
1 can (8 oz.) water chestnuts, drained and chopped 


Tuesday, March 12, 2013

Craigslist Dresser Makeover

I've been searching for a new dresser for my getting ready room for a while now.   After doing some (okay, a lot) of pinteresting, I found this dresser on a DIY blog, and knew this was just what I wanted to do! 


The catch was my Handyman gave me a $50 budget to buy a new dresser.   So it was off to Craigslist and garage sales for me!  

 Just last week I found this little gem for $50 on Craigslist, and the makeover began! 

 
My handyman and I took a little trip to Lowes and bought this allen + roth Paintable Ceiling Tiles Wallpaper, trim, spray adhesive, and some gray paint.

 Then the games began!   We measured and cut the paintable wallpaper, and then used the spray adhesive to "glue" the wallpaper to the drawers.  Once they dried we painted the drawers and the dresser. 

 I leave all the heavy machinery to the handy man.  So using a saw, Kevin cut down all the trim, and while he cut, I primed and painted them. 


 The final step was a trip to Pier 1 to buy the handles.   (We may have picked up a new living room chair while we there as well, so those were some expensive knobs! :) ) 


My newest obsession is Rodan + Fields skin products.   Check out all their wonderful products here.  

Redfine Regimen has been my favorite so far!  Talk about some serious before and after pictures!  


Sunday, March 3, 2013

Foyer- Before and After

The foyer is complete!


Now that you have seen the before and after pictures, here is a little bit more about how my handyman did it:


He demolished the hall closet that took up a lot of our foyer space when you first walked in the front door. 


After that, he tore up the slate floor and all the reinforcing underneath it.


After putting down an extra layer of 1/2" plywood subfloor and 1/4" Hardibacker, installation of the new travertine tile began.


Once the tile  and base molding was installed it was my turn to begin decorating, starting with the table from my previous post.


The picture rod is from Rodworks. They have a number of different designs and sizes and they are all relatively inexpensive. The distressed frames and the C are from the French Flea shop on Esty
The Moroccan rug is from RugsUSA and the globe light is from Pottery Barn.